Sunday, April 26, 2015

Chocolate Chip Cookie-Topped Brownies

Brownies are good. Chocolate chip cookies are good. Chocolate chip cookie dough-topped brownies? Utterly delicious. These brownies take two of the most popular desserts – brownies and chocolate chip cookies – and combine them into one amazing, sinful treat. The bottom is a classic brownie recipe, and the top chocolate chip cookie dough. The combination of flavors is wonderful and the best part is eating them warm from the oven or reheated – the chocolate chips from the cookie layer on top are slightly melted, giving the brownies that great ooey-gooey-ness that can only come from perfectly baked chocolate chip cookies. You’ll want to have a nice tall glass of cold milk ready when you serve these!
chipster-topped-brownies-milk

Now one of the things that most people, myself included, love about brownie recipes is that they are usually “one bowl” recipes that don’t require a stand or hand mixer. This recipe bucks that trend and in fact requires you to use two separate mixing bowls, but I am whole-heartedly telling you that the extra work is absolutely worth it, as these are not your typical brownies. The brownie layer, once mixed, is very reminiscent of of the French Chocolate Brownies by Dorie – the batter is quite airy and almost mousse-like.

chipster-topped-brownies-stack

Notes on recipe:
♦ I cut the recipe in half and baked it in an 8×8 pan. For a half recipe, you’ll want to bake for approximately 35-40 minutes.
♦ I strongly suggest erring on the side of underbaking these, as you will not want them overdone.
♦ When layering on the cookie dough, I recommend using a small icing spatula and spreading the dough very gingerly over the brownie batter.
♦ I think you could get away with more than the recommended servings (24 for a full batch, 12 for a half). I would do the recommended size if you’ll be serving it as dessert, but if you’re making them just to have in the house or to take to a party, I’d cut squares and go for 16 or 32.

Thursday, May 29, 2014

$800.00 DIY Kitchen Renovation!


I am so excited to share this kitchen makeover with you today!
My friend, and talented Interior Designer, Lee recently renovated her kitchen for $800.00.
After receiving a $3500 quote to reface the cabinets, they decided to tackle the job themselves.
The painted the cabinets, changed the counter-tops, updated the hardware, removed a couple cabinet doors, and added a backsplash.

The kitchen was clean and functional but lacked personality.
The after is oh-so-good. 
A little paint (and elbow grease) can sure go a long way.
I adore the blue base cabinets paired with the brass hardware. So so good.
I love how she removed a couple cabinet doors to create open shelving. It breaks up the heaviness and adds some much needed personality.
The countertops were the biggest splurge ($600.00) but the impact was well worth the money. She painted the cabinets and installed the subway tile backsplash herself! 
In my opinion you can never go wrong with white subway tile and grey grout.
Love it.
Lee was kind enough to share all her sources with us, now we can get this look too!
 Benjamin Moore Hidden Sapphire
Benjamine Moore Snowfall
Successi Bin Pulls
Subway Tile
Butcher Block Countertops
Is that really the same kitchen? 
I want to move in.
Thanks for sharing Lee, you are so talented!

the story & cost of our kitchen renovation


i apologize up front for those that are sick and tired of seeing this kitchen but i've been getting lots of emails asking for details so i kinda need to do this.


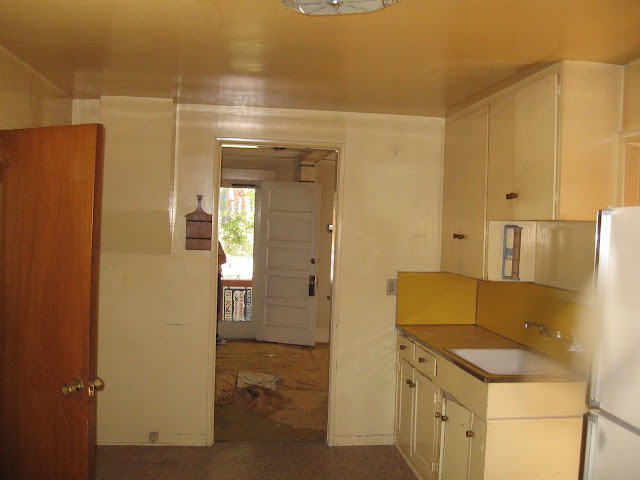
this first picture was taken the day we took ownership.  you can see larry has already started ripping out the carpet in the living room.

this kitchen cost $14k to renovate.  i'll tell you exactly the price breakdown at the end of the post.
remember, the kitchen is small and only has 3 base cabinets and one upper (w/o doors) so that kept costs down.
another key to keeping the cost relatively low was using the same layout of basic fixtures that was already here.
i tried to think of ways to have a proper triangle working space but in the end it was impossible.
so now when i cook i get exercise too.


another trick to save money was using the baseboard and crown molding as part of the cabinet design.  we ran the 6" crown around the room, wrapping the upper cabinet in.  and then we ripped 4" off the 10" baseboard and incorporated it into the base cabinet structure.
all 3 cabinets have a furniture look to them now b/c of that.  it's one of my favorite things about this kitchen.


here you can see how the crown and base moldings are incorporated into the cabinets.
i often get asked about whether or not i like having the open cabinets and the answer is Yes.
i love the way they look and i love the way they function.
also, i got used to not having the toe kick really fast.  it is no big deal and again, love the way it looks.


i remember this day so clearly.  the floor was complete and covered with paper and cardboard to protect it and when those cabinets were brought in and the granite was placed on top i think i cried.  yeah, i'm sure i did.  my heart was ready to burst i was so happy.  up until this point i had no idea if any of my ideas were going to really work out.


we started with the flooring in this kitchen b/c i wanted the cabinets to sit on top of the flooring instead of the flooring butting up to them.  see that big old refrigerator?  when we moved it there was a big hole in the floor where it had been leaking.  we knew at that point we were going to have to tile the floor.
we could reuse the kitchen floorboards that were still in good shape in the living room to fill in the large hole that the floor heater left when we tore it out.  so it all worked out nicely.


the cabinets and all the walls and trim throughout the house are painted in benjamin moore's simply white.
(except the office which is ralph lauren mercer)


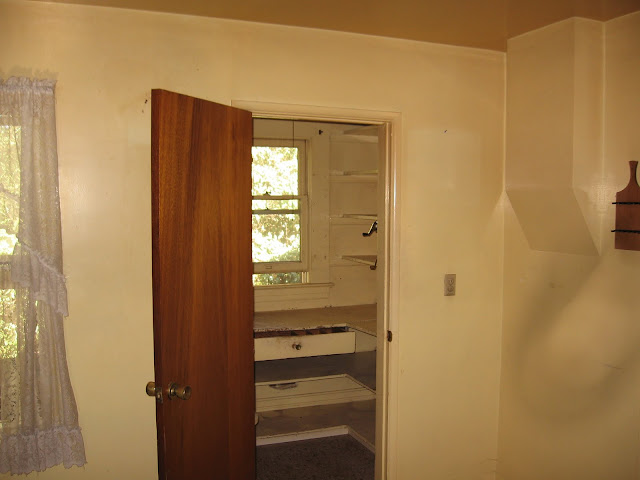
ahhh, the lovely pantry.
quite scary in there.


i love all the beadboard that the cabinet guy put in.  even the ceiling is beadboarded.
you can see this is where the microwave, toaster and coffee maker is.
it's our breakfast center.

ok so here is the basic cost breakdown, installation is included
kitchen cabinets (includes all baseboards, crown moulding and rebuilding pantry 4k
countertops (honed black granite) 2k
viking range 5k

kohler farmhouse sink 1k
vintage faucet 300.
backsplash (white subway) 300.
flooring (2x2 hex tile) 1400.
-----------
total 14k


you could easily knock $4 or 5k off this if you used a regular stove and sink.
and even more if you can do tile work.

wait...the price for the subway tile is a little low b/c about a year after being here i had the guy come back and tile the entire wall behind the stove.  i think he charged $200 to do that.
and the bamboo blinds are from lowes - i think they are $20 bucks each.
and the drapes are from target and are $20 a pair.

so that is that.
and i hope this answers your questions.


xo
janet

ps

my dear friend sarah from the blog my yellow house recently lost her entire blog!
she has started a new one and i'd love for you to pop over and say hi.
thanks!

one day