There are many ways to remove wallpaper. I initially tried a mixture of
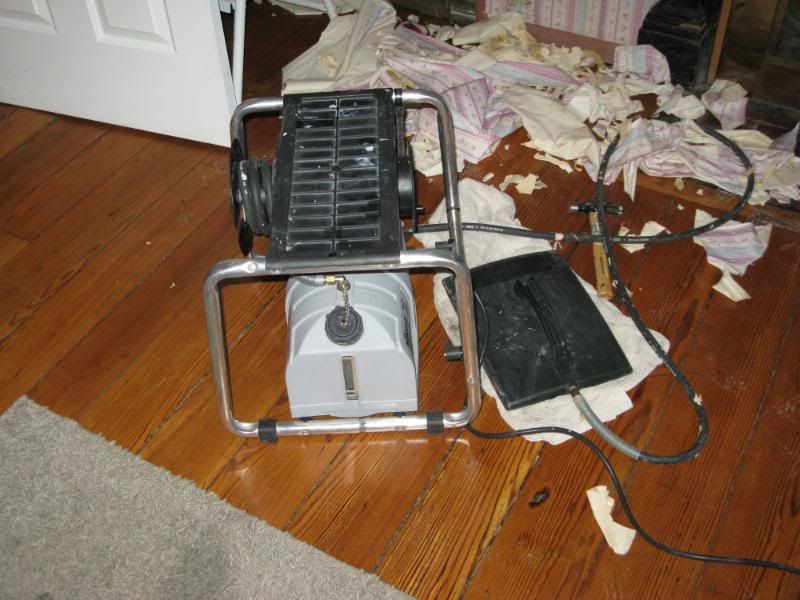
fabric softner and water on wallpaper that had been scored - I've heard of this working, but it didn't fair too well. It would have taken months to finish the job we have - and I imagine it would take ten bottles of fabric softner. So we rented a steamer for $34.

...still a slow process, but it helped immensely. It's easy to use and no chemicals. First, you fill the tank with hot water - it took about 30 minutes before the steam started, so the hotter you start with the sooner you'll be working. It's a relatively small tank, but it lasted a good amount of time. While you're waiting for steam, score the paper so that the steam can permeate the glue. Slowly run the steamer plate over the paper and it should start loosening from the wall.
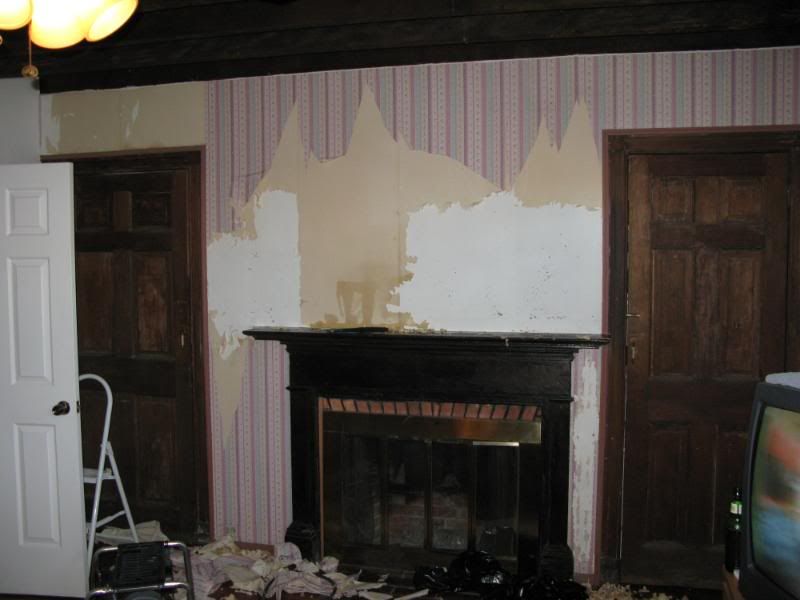
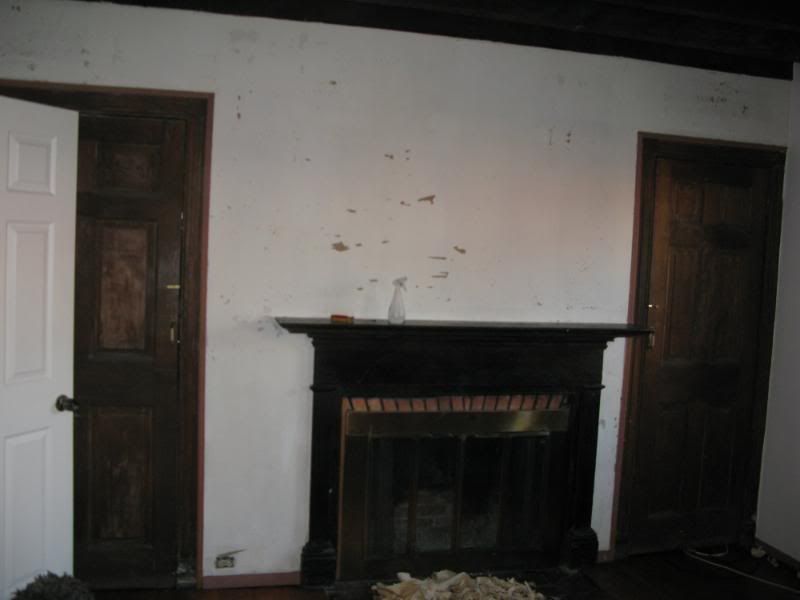
The stuff in the bedroom was horrible and took much longer. It came off in two layers, first the decorative easter egg layer, then the backing paper.

The walls will need repair and primer before painting, but it's nice to take a step in the right direction.

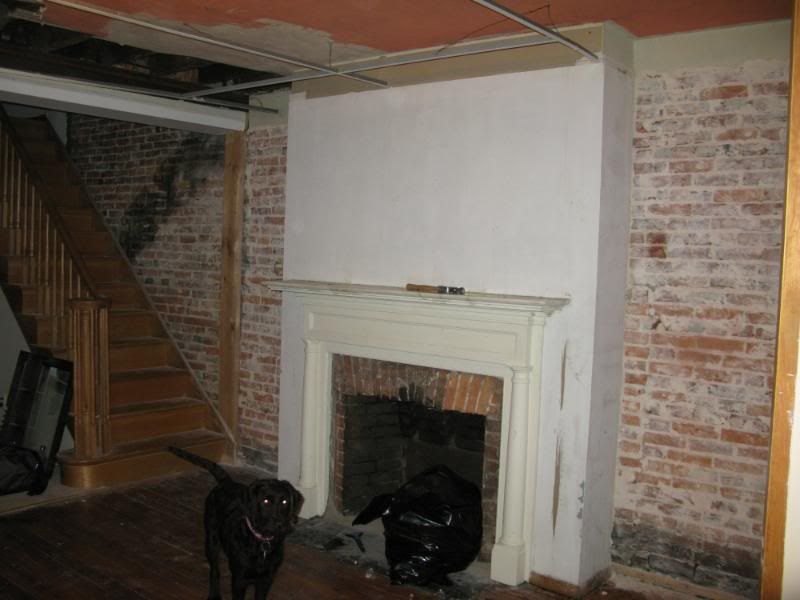
The ivy paper was thicker and held together, so removing it was much easier. You can also see that we ended up exposing the brick all the way up the stairs. The darker diagnol line is where the roof over the basement stairs used to be.

Some tips:
-Keep a spray bottle nearby. If the walls are very wet, it comes down easier;
-Using the scraper is sometimes inevitable, but I tried to keep it's use to a minimum. If everything is wet, you can use your fingers to pull it down with less damage to the wall;
-Pull slowly and try to get as big a piece as possible.
 This chiffon had a soft yet crunchy texture. It also had some moisture filling especially when there are some chocolate oozing out from the cake.
 If you are looking for some chocolate cake but not rich yet soft then you may try this.
 Recipe for 17cm chiffon tin:


