Saturday, September 27, 2008
Gone nuts with Dates!
One of the easiest ways to get all the goodness of fruits and milk is by having milkshake or smoothie everyday for breakfast. It is very filling and satisfying. Date milkshake is not only healthy but als0 delicious.
Ingredients:
Dates-5
Almonds-a handful
Banana-1
Milk-2 glasses
Cardamom powder-a pinch(optional)
Method:
Blend everything together well and enjoy!
Friday, September 26, 2008
the contractors have finished
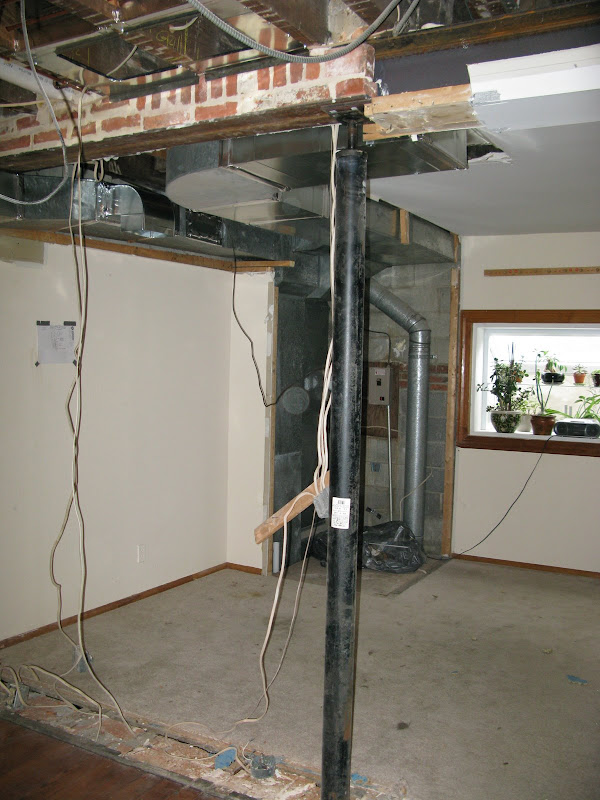
We are thrilled with the new open space! It's still a mess and we now have tons of work to do, but getting rid of this wall really helps us move forward. Here's what we're looking at:
We can't believe how much of a difference it made! The kitchen will mostly be the area where there is currently carpet (it may spill out a bit into the living room). The walk-through will be to the right of the column and to the left will be cabinetry/appliances. We've only made preliminary layout decisions, but now that we can really see the space we're going to get serious about the plan.
In the following picture you can sort of see how the ductwork is all tucked as high as possible and grouped together:
The next steps are to:
come up with the basic design;
decide where plumbing and electrical will be going;
and start the framing and drywalling process.
We'll also be drywalling the living room ceiling and the master bedroom ceiling (both are just exposed joists right now).
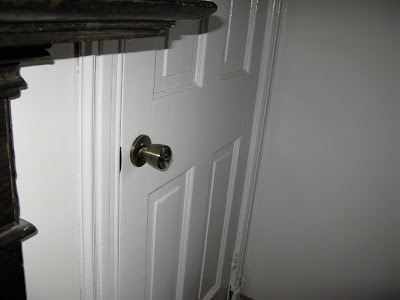
There are lots of other random jobs that will continue - speaking of, we installed doorknobs on a few closet doors. I basically followed the directions and they all work perfectly. These were doors that had no previous knobs, so there was chiseling and hole-sawing involved. Be careful, because this picture is about as exciting as hunting moose:
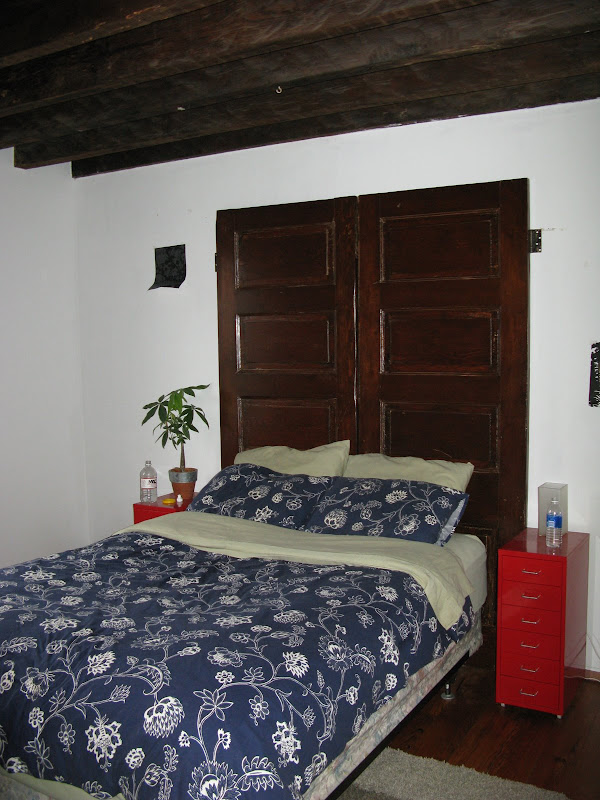
Also, upon request - here is a picture of the doors-as-headboard. There are going to be quite a few changes... actually everything will change, except for the headboard. Remember the wallpaper we were indecisive on? It's going on the wall behind the bed. The linens will certainly be changed; new side tables; the ceiling will be a solid surface - yeah, yeah, you think we should keep the beams - they look interesting in the picture, but they're a mess in person and they have to be covered. Also, the sound travels 100% through to the upstairs bedroom and that is less than ideal.
Gratuitous dog picture - ole blue eyes:
Vegetable Pizza
I followed a pizza dough and tomato sauce recipe from Jamie Oliver (Jamie's Dinner). Again, his recipe is wonderful! I've never failed by using his recipe. For the topping, I simply sliced some mushroom, red and green pepper and finally topped with some cheddar and mozzarella cheese. I would say, the tomato sauce makes the pizza smell very good and delicious.
Recipe for quickest tomato sauce: I made 250ml (you might not need to use all)
2 cloves of garlic, peeled and finely sliced
a bunch of fresh basil leaves, picked an torn
600g tins of whole plum tomatoes
sea salt and freshly ground black pepper
1 dry bay leave
Recipe for quickest tomato sauce: I made 250ml (you might not need to use all)
2 cloves of garlic, peeled and finely sliced
a bunch of fresh basil leaves, picked an torn
600g tins of whole plum tomatoes
sea salt and freshly ground black pepper
1 dry bay leave
- Fry the garlic with some olive oil in a pan then add in basil and tomatoes. Using the back of the spoon, mush and squash the tomatoes as much as you can.Season the sauce with salt and pepper and add the bay leave.
- Let it simmer at the medium low heat. The tomatoes will break into puree. Let it cook for 15 minutes until the mixture puree and dry. Leave to cool and ready to use.
Recipe for the dough: I made two pieces of 8 inches pizza
200g bread flour / 1/4 tbps fine sea salt / 3.5g yeast / 5g sugar / 163g water
- Knead all the ingredients until smooth springy soft dough, cover it with clingfilm and let it rest for 1 hour until the dough has double in size.
- Knocking back the dough by kneading and pushing the air out with your hands. Divide the dough up into 2 balls and rest for 15 minutes.
- Roll the doughs into circles about 0.5cm thick and place on a flour-dusted tinfoil then proof for 40 minutes. Place the foil together with the dough on a pre-warmed flat baking tray or pizza stone. The dough will start to bubble and cook immediately.
- Then quickly spoon 3 to 4 tablespoons of tomato sauce into the middle and spread it out evenly. Add all the ingredients like vege, ham etc. Then top with cheese and season with salt and pepper and drizzle with olive oil.
- Place the pizza in the 220'C preheated oven and cook for 10 minutes until the pizza base is golden, bubbly and crisp around the edges and the tomato and cheese topping is melted.
Subscribe to:
Posts (Atom)