BetterMade Cabinets would like to thank all that came out today for the press release. It was great to see, and meet many from the area.
Friday, May 04, 2012
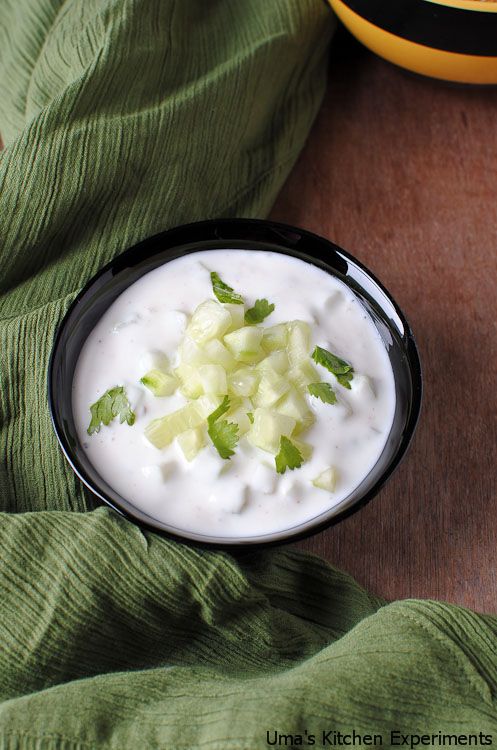
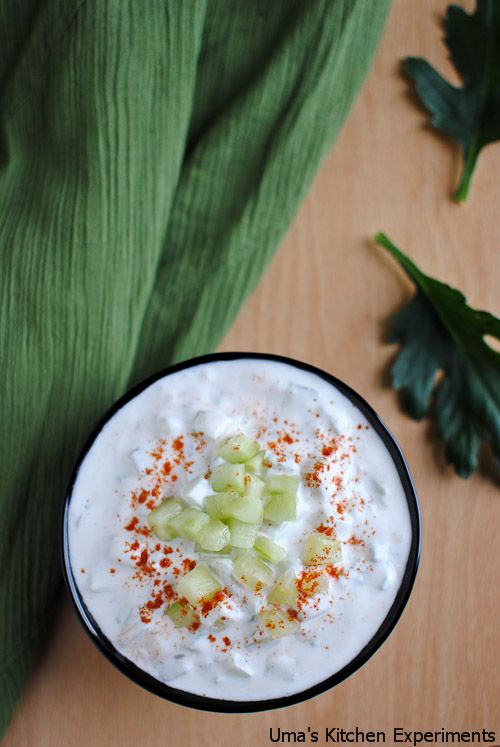
Cucumber Raita
Dinner with friends, chitchat, watching movie.....totally Friday means to me a fun day. Knowingly or unknowingly this is been happening on every Friday. No worries. I love it to be like this.
After the wonderful evening time spent with friends, I gained some energy to post something in my blog and no power at home when I sat in front of my laptop. With the backup power from the laptop, I was able to search and select a simple raita recipe.
I thought this post might also helpful for those who live in (extreme) hot city like Chennai. It is better to include any one raita along with our daily food intake to cope with the heat and this time the raita is with cucumber.
Basic Information:
Preparation Time: 10 minutes
Makes: 2 cups approximately
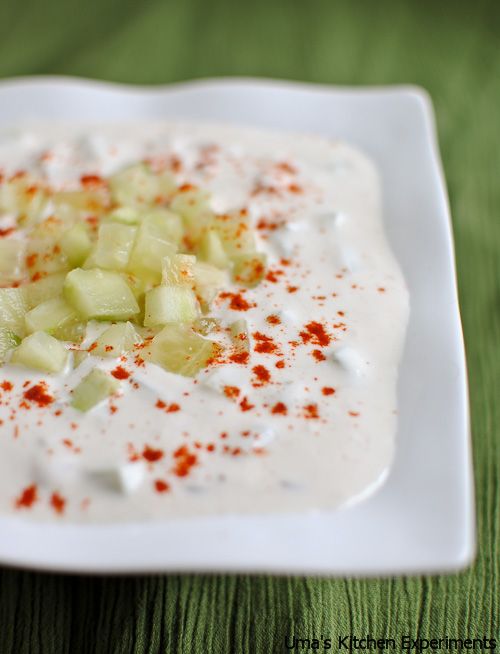
Ingredients:
Cucumber - 1 no, large size, any variety
Plain Yogurt / Thick Curd - 1 to 2 cups
Cumin seeds - 1/2 teaspoon
Black Salt - to taste
Red chilli powder - 1/4 teaspoon
Coriander Leaves - for garnishing
Method:
1) Remove the skin of cucumber and chop it into very small cubes. You can also grate the cucumber.
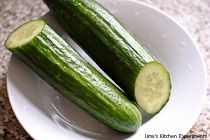
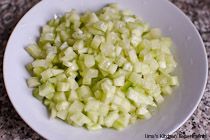
2) In a mixing bowl, take yogurt/curd. Add cumin seeds, red chilli powder and black salt. Beat well using a whisk.
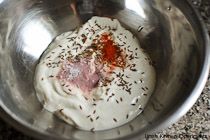
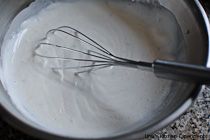
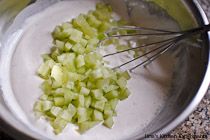
3) Save some chopped cucumber for garnishing and add the remaining cucumber to the mixing bowl. Mix it very gently.
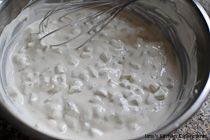
4) Garnish with coriander leaves and chopped cucumber and serve. Sometimes, I sprinkle some red chilli powder before serving raita.
Note:
1) If you don't have black salt, substitute it with regular salt.
2) Use thick curd for best results.
3) Increase or decrease the curd quantity as per requirement.
Thursday, May 03, 2012
Melt In the Mouth Chocolate Cake with Mint Chocolate Glaze
Chocolate...the name itself makes my mouth water....well I just had one! :) I love chocolate a lot and keep it in stock at home and munch on it mostly after dinner. My son also loves it a lot, so I cannot say no to him as I like to eat it as much he does. So I decided to keep it healthy and started to prefer and choose dark chocolate. Now I love it more than the regular chocolate, as it has the right amount of sweetness to it, while the regular chocolate makes me think it's too sweet, eventually which is good for me that I think so. :)
I see that Anush likes to eat chocolate flavored with mint...I never tired and thought I would never like it. But few days back on of my friends had these thin chocolate mint wafer cookies, so I thought why not try it and see how it tastes. You will not believe, it tasted so good and the mint flavor just chills your throat and that feels awesome.
So adding mint to this recipe as a glaze was an accident :) because I didn't have enough chocolate chips, but had mint flavored baking chocolate chips, so now I love this flavor and combo of chocolate and mint.
Ingredients:
------------
Cake:
-------
3/4 cup Whole Wheat Flour
3/4 cup All Purpose Flour
1 cup Sugar
1/3 cup Unsweetened Cocoa Powder
1 tsp Baking Soda
1/4 tsp Salt
3/4 cup Milk
3/4 tsp Lemon Juice
1/3 cup Canola Oil
1 Egg
1 1/2 Vanilla Extract
Glaze:
-------
3 oz Bitter Sweet Chocolate Chips
3 oz Mint Chocolate (Baking Chocolate Chips)
1/2 cup Whipping Cream
Method:
---------
Cake:
-------
1. Preheat oven to 350F.
2. Coat a baking pan or a spring foam pan with baking spray.
3. In a bowl mix milk, lemon juice, canola oil, egg and vanilla extract and keep it aside
4. In another big bowl swift together whole wheat flour, all purpose flour, sugar, unsweetened cocoa powder, baking soda, salt.
5. Mix the wet ingredients to the dry ingredients and mix it until just blended and transfer the batter into the prepared pan and bake it until the cake is done or about 28 to 30 mins.
6. Remove the cake from oven, let it sit for 5-10 mins, then transfer the cake on a cooling rack or a serving plate.
Glaze:
-------
1. In a microwave safe bowl add the bitter sweet chocolate chips, min chocolate chips and whipping cream and microwave it for about 20 secs, stir it with a wooden spoon or fork.
2. Again put it back to the microwave and again heat if for 20 secs, keep repeating it until the chocolate is just melted and mixed well with the whipping cream.
3. Now let it sit for about 5 mins, or you can also pour this glaze over the warm cake to make it more moist and like melt in the mouth.
4. As and wen the cake cools down, even the glaze kinda hardens a bit. You can also enjoy this rich chocolaty warm cake with a scoop of ice cream.
 | Chocolate Pumpkin Pie Bar |
 | Beetroot Chocolate Ultimate Fudge Brownie - MADE EASY & HEALTHY |
 | Eggless Chocolate Pasta with Strawberry Cream Cheese and Chocolate Syrup (Pasta made from scratch) |
Subscribe to:
Posts (Atom)


