We got some exciting work done this weekend!
Wood floors: Firstly, I can’t believe I ever considered replacing the original floors, and here’s a thanks to those of you who openly considered my sanity. They turned out great! The floors had been refinished in the past and we liked the aged color and look. They had potential. Our goal was a super shiny, smooth floor that will stay that way - despite the canine parade. We came up with a process that worked and we love the way they turned out.
The first step is to clean and prepare the floors. We used the shop vac, brooms, swiffers, etc. You’ll also need to remove the baseboards - be careful if you want to keep and reuse them as they break easily. If you have nail heads popping up or loose boards, this is the time to fix that too.
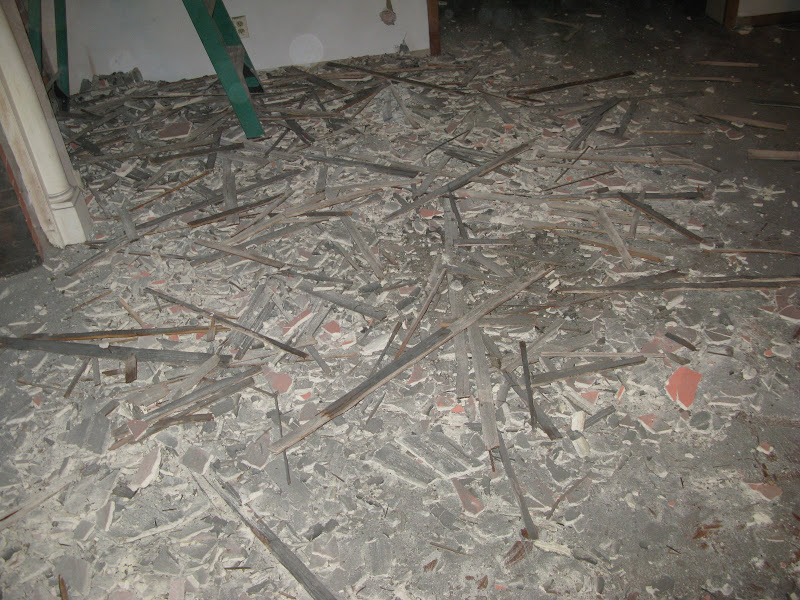
Before:
After thoroughly removing the debris, we sanded the entire floor with an orbital sander (rented from Home Depot) using a 150 grit sanding screen. The edges and corners were done manually with a hand sander. We were careful not to sand too deep in order to keep enough of the current finish and color (the orbital sander is simple to use and more forgiving than a belt sander). After sanding, you should see a powdery white dust over the floor.
Next, we dusted thoroughly with swiffer pads and followed up with mineral spirits using a lambswool applicator. This step was imperative in our case due to the waxy buildup over the years. If the wax is not completely removed it can affect the finish at the end. The mineral spirits also cleans up any dusty layer that might be left and leaves the floors free of residue. We went over the entire floor twice to ensure that it was clean and ready for the first coat of polyurethane.
We used an oil based, gloss by Minwax – I’ve used water-based poly before and while I know it can be argued that it’s a better choice, I feel like the oil-based was easier to use. One big difference is that there were no wet edge problems. This is partly due to it’s slow drying time (18-24 hours before the second coat can be started). Even though it took longer, we're much happier with the results here than in our previous house.
We allowed the floors to dry and lightly sanded them again with the orbital sander (150 grit). You’ll get the white powdery residue again (swiffer, then more mineral spirits with the applicator) – let the mineral spirits completely dry and hit it again with the same poly I mentioned above.
We love them – so much – I think they might be pregnant.
You can also see that we started the cabinet installation! I think that needs one more exclamation point. !
They’re Ikea Akurum in Adel. The finish is called Medium Brown. Medium Brown is a rare species of tree only found in the forests of Sweden. Couldn’t Ikea come up with a name involving more than just adjectives?
Ta-Dah!


 Chiffon cake is my favorite dessert. It's light and taste very refreshing after storing in the fridge. I've some leftover pumpkin in the fridge and thinking to make this pumpkin chiffon last weekend. For this recipe, the pumpkin suppose to be steamed with its skin which is in green color but I peeled it days ago. So, I replace the green skin with some pumpkin seeds.
 Normally I'd bake all my chiffon at 160'C according to my oven thermometer. After reading my friend's blog, she recommended to turn the heat down to 140'C as the fan oven we are using is quite heat. It works! The previous chiffon I baked rise up very quickly and cracked till nobody business whereas this time it rise up slow and steady. Although it's cracked but not so serious.
 I like the cotton soft chiffon combine with the sweetness from the steam pumpkin with bits of crunchiness from the pumpkins seeds, yummy!


