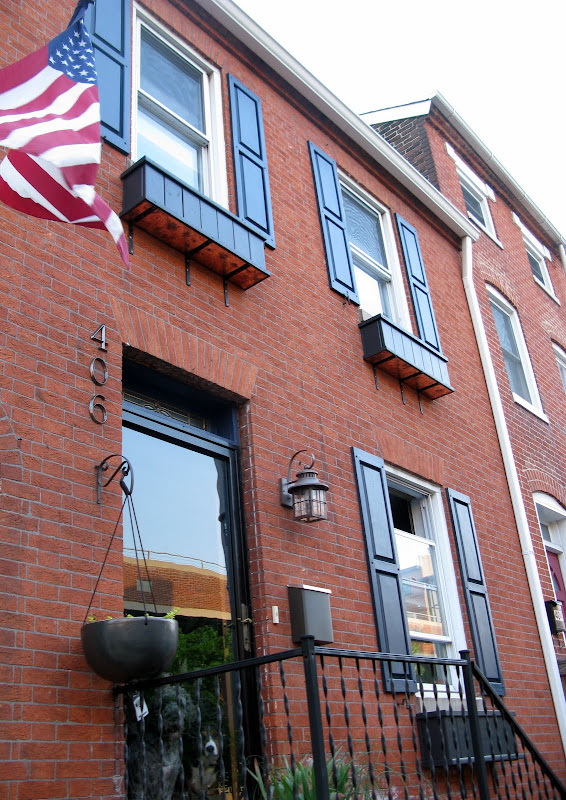
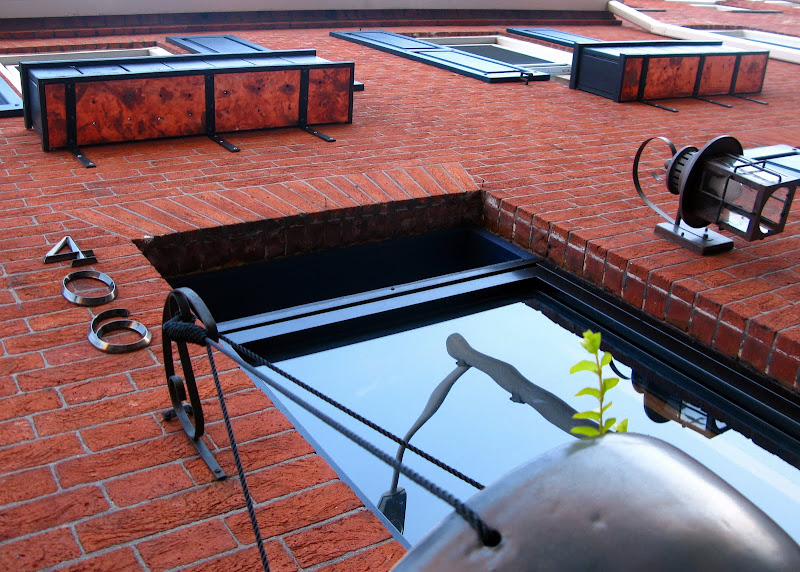
The bottom is lined with copper flashing to add some interest (to otherwise perfectly fabulous window boxes). We're looking forward to a patina surface as this ages.
We built and installed these ourselves. There is nothing too ingenious here. After measuring and sketching out a few design ideas we picked up the materials for about $250. Note: the copper flashing was $40 alone. This could be left out of the process if you're okay with mediocrity.
After making all the necessary cuts, we set up a painting station on the pool table. Even though we used pressure treated lumber we figured some extra weather protection was appropriate. Every side of every piece was painted. Two coats with exterior latex paint - prior to construction. (The color is Lincoln's Cottage by Valspar. aka "black")
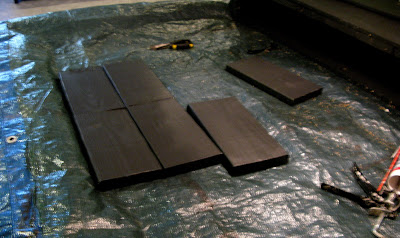
The pieces were then taped together with duct tape. This is a lie. Outdoor, galvanized screws were used on all accounts.
The copper flashing was surprisingly easy to work with. It cut effortlessly with some strong scissors and readily bent into shape. This was adhered to the bottom of the box using construction adhesive that is specifically designed for flashing materials.
I found that a wallpaper seam roller worked great to press the copper into the wood.
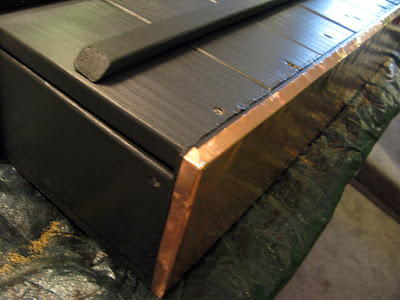
Add the trim and say, "Ta Dah".

Prior to installation, one more post-construction coat of paint was applied. I then used a nailset to punch holes through the copper for drainage (the wood was pre-drilled to keep the copper in good shape).
Can't wait to fill these with flowers!
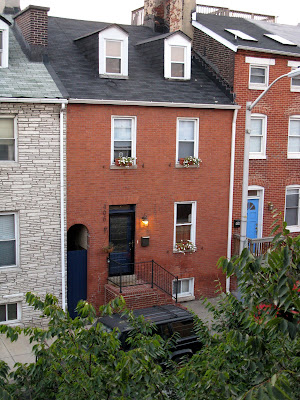
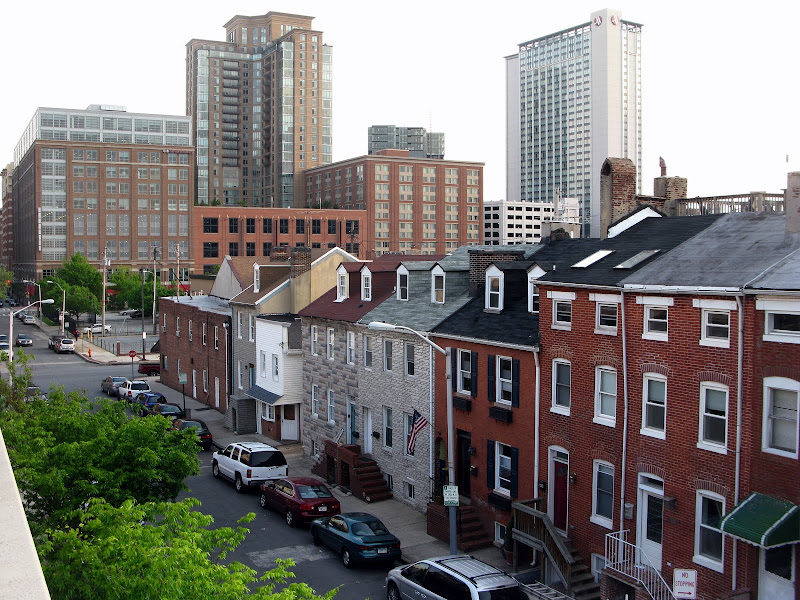
And a few more shots of Project Rowhouse:


Reminder - a before picture: