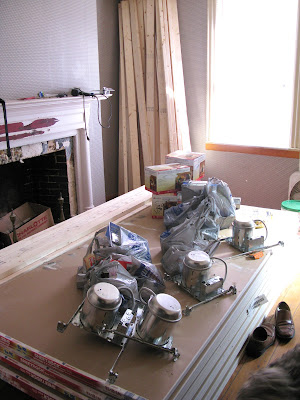
So it doesn't look like that much, but that's thirty sheets of heavy drywall.
Okay, on to the recessed lighting. We found out during the research and shopping that there are two basic differences in recessed lighting fixtures. One is for a remodel and one is for new construction (i.e. no drywall).
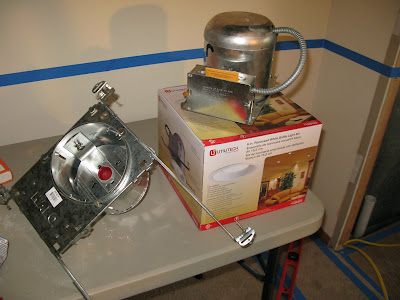
We had a need for both - the one the left is for new construction: see the long braces? Those allow you to brace the light fixture in between two ceiling joists. This is ideal and keeps the housing firmly in place. The fixture on the right is set up for a remodel - which is what I did today. The lack of braces lets you shove the fixture up through the ceiling and into place. Here you can see the fixture half way into the ceiling:
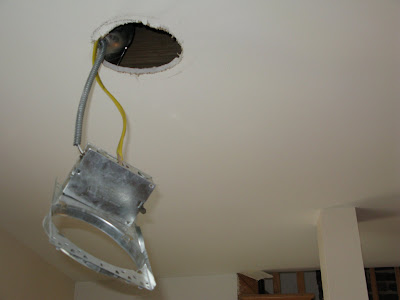
And now, into place:

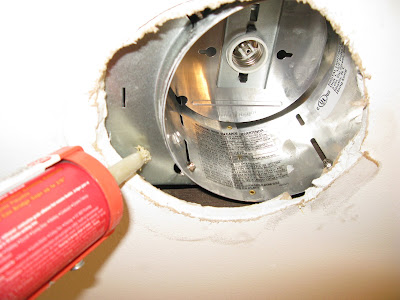
This next step was upon suggestion from the home improvement store lighting guy. Apparently, if you follow the typical remodel instructions the light can eventually lean or become loose from the ceiling, but some Liquid Nails will keep everything in place:
Finish installing the trim, return the power and voila! ...one step closer


